Quick Start
After installed Hermione:
Create you new project:
hermione new project_hermione
Hit Enter if you want to start with an example code
Do you want to start with an implemented example (recommended) [y/n]? [y]:
Hermione already creates a virtual environment for the project. For Windows users, activate it with
<project_name>_env\Scripts\activate
For linux and MacOS users, do
source <project_name>_env/bin/activate
After activating, you should install some libraries. There are a few suggestions in “requirements.txt” file:
pip install -r requirements.txt
Now we will train some models from the example, using MLflow ❤. To do so, inside src directory, just type: hermione train. The “hermione train” command will search for a
train.pyfile and execute it. In the example, models and metrics are already controlled via MLflow.
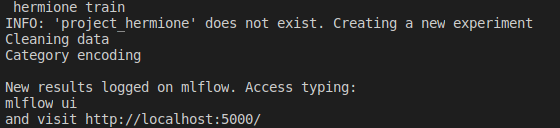
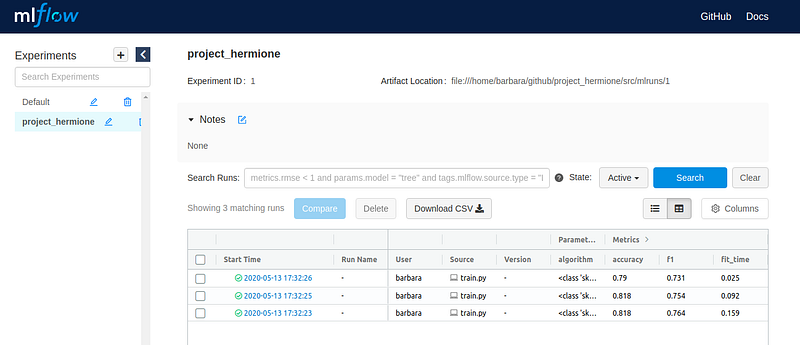
After that, a mlflow experiment is created. To verify the experiment in mlflow, type: mlflow ui. The application will go up.
mlflow ui
[2020-10-19 23:23:12 -0300] [15676] [INFO] Starting gunicorn 19.10.0
[2020-10-19 23:23:12 -0300] [15676] [INFO] Listening at: http://127.0.0.1:5000 (15676)
[2020-10-19 23:23:12 -0300] [15676] [INFO] Using worker: sync
[2020-10-19 23:23:12 -0300] [15678] [INFO] Booting worker with pid: 15678
To access the experiment, just enter the path previously provided in your preferred browser. Then it is possible to check the trained models and their metrics.
To make batch predictions using your
predict.pyfile, typehermione predict. The default implemented version will print some predictions for you in the terminal.
hermione predict
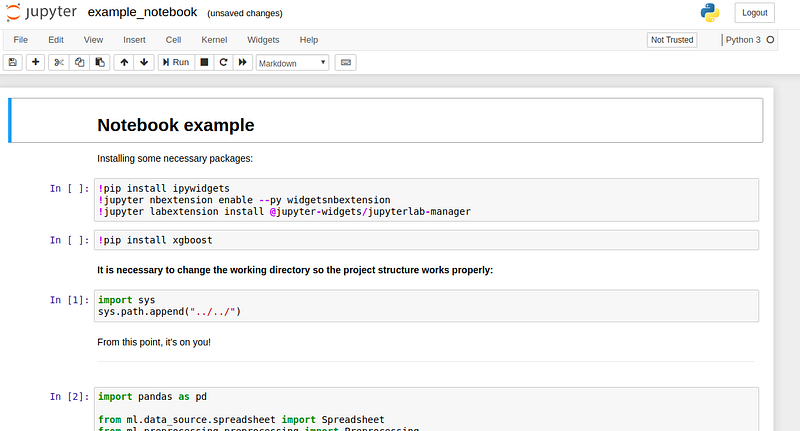
In the Titanic example, we also provide a step by step notebook. To view it, just type jupyter notebook inside directory
/src/notebooks/.
Do you want to create your project from scratch? There click here to check a tutorial.
Docker
Hermione comes with a default Dockerfile which implements a Flask + Gunicorn API that serves your ML model. You should take a look at the api/app.py module and rewrite predict_new() function as you see fit.
Also, in the newest version, hermione brings two CLI commands that helps us abstract a little bit the complexity regarding docker commands. To build an image (remember you should have docker installed), you should be in the project’s root directory. Than, do:
hermione build <IMAGE_NAME>
After you have built you’re docker image, run it with:
hermione run <IMAGE_NAME>
[2020-10-20 02:13:20 +0000] [1] [INFO] Starting gunicorn 20.0.4
[2020-10-20 02:13:20 +0000] [1] [INFO] Listening at: http://0.0.0.0:5000 (1)
[2020-10-20 02:13:20 +0000] [1] [INFO] Using worker: sync
[2020-10-20 02:13:20 +0000] [7] [INFO] Booting worker with pid: 7
[2020-10-20 02:13:20 +0000] [8] [INFO] Booting worker with pid: 8
[2020-10-20 02:13:20 +0000] [16] [INFO] Booting worker with pid: 16
THAT IS IT! You have a live model up and running. To test your API, hermione provides a api/myrequests.py module. This is not part of the project; it’s a “ready to go” code to make requests to the API. Help yourself!
cd src/api
python myrequests.py
Sending request for model...
Data: {"Pclass": [3, 2, 1], "Sex": ["male", "female", "male"], "Age": [4, 22, 28]}
Response: "[0.24630952 0.996      0.50678968]"
Play a little with the ‘fake’ data and see how far can the predictions go.